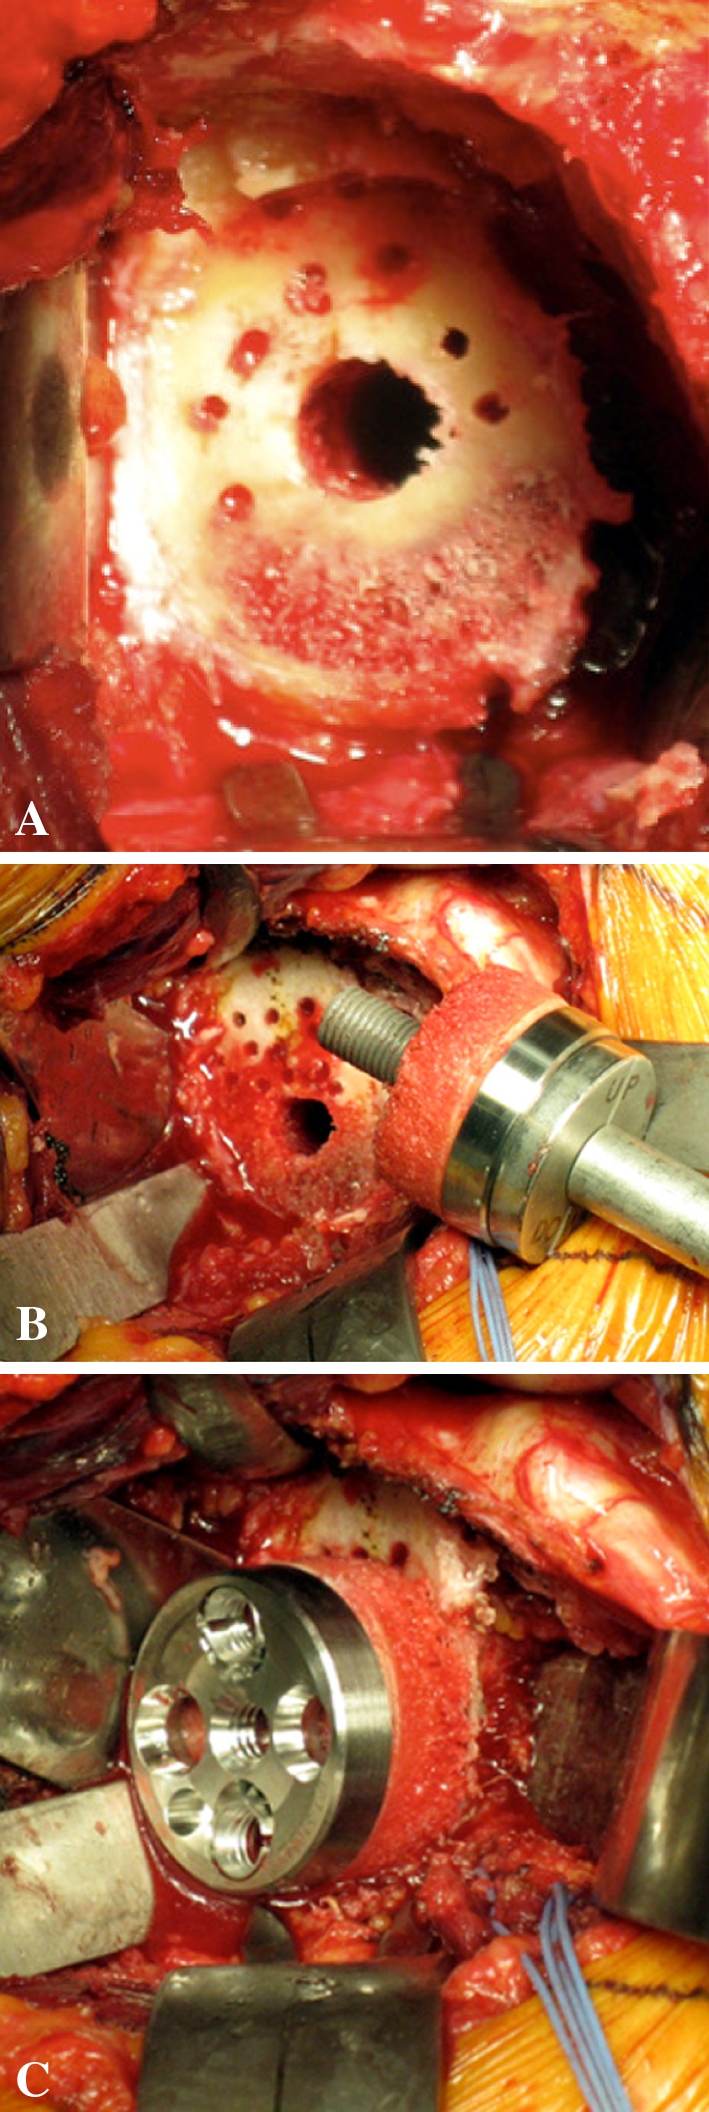
Fig. 4A–C.

Photographs illustrate glenoid preparation. (A) The glenoid surface must be reamed until the subchondral plate is reached (this represents an approximate 5-mm deep reaming) and with some inferior tilt. In addition to glenoid reaming, small drill holes (2.5 mm) are made at the periphery of the glenoid to obtain a complete bleeding bone surface and the central hole is overdrilled with an 8-mm drill bit. (B) The baseplate, with the disc of cancellous bone graft inserted along the lengthened central peg. (C) It is impacted until it reaches the cancellous glenoid surface and then fixed with four (two compressive and two locking) screws.
