Figure 7.

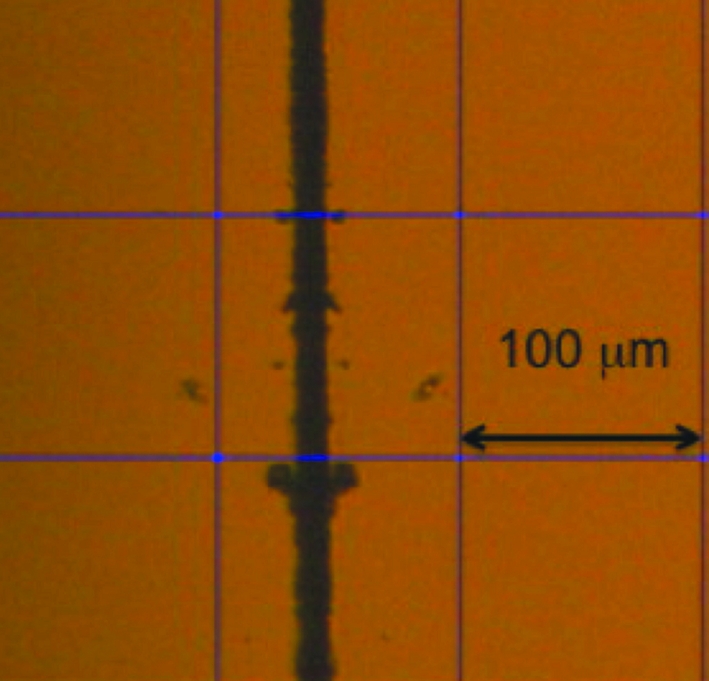
Optical micrograph showing the gap between the two mirror surfaces. The measured gap was ∼7 µm near the mirror centre whereas the ideal gap should have been less than 5 µm.

Optical micrograph showing the gap between the two mirror surfaces. The measured gap was ∼7 µm near the mirror centre whereas the ideal gap should have been less than 5 µm.