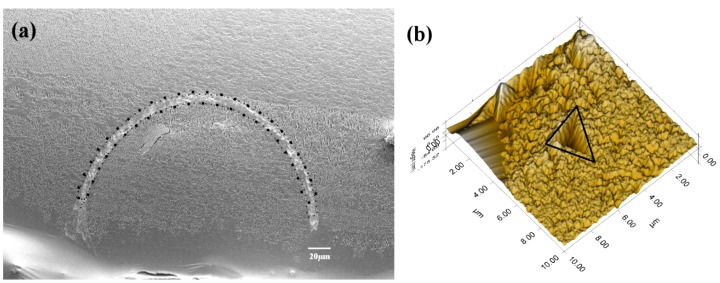
Figure 7. The tube portion used for nanoindentation analysis.
(a) Portions of cross-sectional surfaces subjected to of nanoindentation test, at least six random points were tested over the tube area (surrounded by dotted line). (b) A mark created after indentation test from a shell sample of the control pH/pCO2 (pH 8.1).

