Fig. 2.

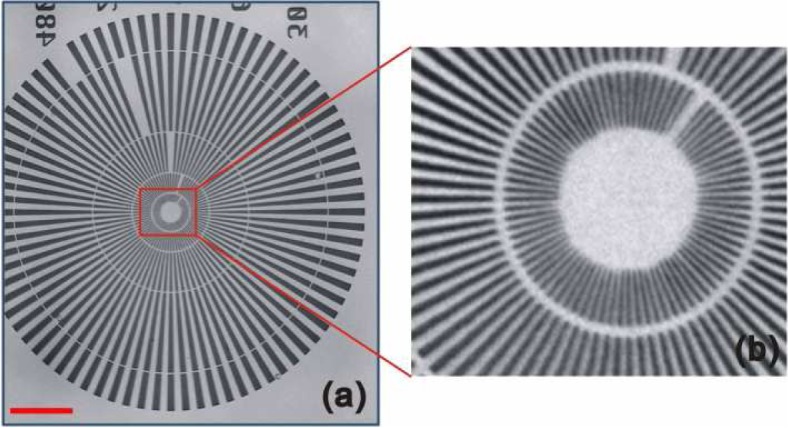
TXM image of a Siemens calibration standard with 30 nm minimum features. Panel (b) is the magnified view of the highlighted area in panel (a). Scale bar in panel (a) is 5 microns.

TXM image of a Siemens calibration standard with 30 nm minimum features. Panel (b) is the magnified view of the highlighted area in panel (a). Scale bar in panel (a) is 5 microns.