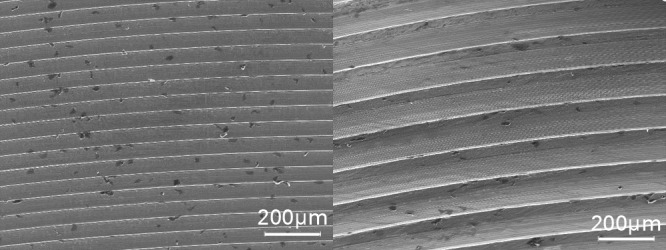
Fig. 4.

Scanning electron microscopy (SEM) images of an area of unworn manufactured taper surface (left) and an area deeper in the same taper that shows the imprint of the machining grooves of the trunnion (right). Note: images are at the same level of magnification.
