Abstract
Quantitative analysis of confocal imaging experiments require more stringent quality control of instrument function than qualitative imaging. Unfortunately, there are no standard procedures for quality control that are uniformly implemented, and, in multi user facilities experimenters rarely have access to the QC information. This paper proposes an easy and very efficient protocol that could be performed at the beginning of each day, experiment or even slide. It takes only a few minutes to assess laser stability, stage stability, channel registration in 3 dimensions and flatness of field. The information may be used either to calibrate data or, in more severe cases to request servicing the instrument.
Keywords: Confocal microscopy, QC, Laser scanning, Laser stability, Stage stability, Confocal field uniformity
1 PURPOSE
Provide quality control (QC) to ensure reliable, artifact-free, non-biased quantitative information from confocal-based experiments.
2 THEORY
Microscopy has been slowly moving from the purely descriptive stage to the need of deriving statistically meaningful quantitative estimates of labeled features. In order to validate a quantitative result, there is a requirement for QC in a microscopy-based experiment going far beyond what is typically performed in a descriptive one.
In a fluorometer cuvette or plate reader, fluorescence intensity is measured as an indication of concentration of fluorescent molecules. There is therefore a similar expectation that, in a fluorescence confocal microscope, intensity in every voxel is a measure of the number of fluorophores present in that volume. The difference comes from low number of photons usually collected from an image voxel and the large numbers of possible variations in the light path imposed by the flexibility of a microscope. Thirty-nine or more factors have been identified that can affect the intensity measured in a confocal image (Pawley, 2004). It is often assumed, without evidence, that many of them are constant. There are no uniformly required standard QC protocols. Several papers present QC methods (Cole, Jinadasa, & Brown, 2011; Zucker & Price, 2001; Zucher 2006) but they are time consuming and not widely used. The following protocol is takes only a few minutes and can be performed with the slide to be imaged, it does not require any special probes. It is designed to:
evaluate the variance introduced in a confocal fluorescence experiment by instability in the instrument
perform measurements with the awareness of potential pitfalls due to (a).
early identification for the need of instrument service and repair.
3 EQUIPMENTS
Laser scanning confocal microscope.
The tests can and should be performed on any confocal system used. Examples shown are obtained on a Leica SP5 AOBS.
4 MATERIALS
Fluorescently labeled samples, either immunofluorescence tissue sections or live cells in coverslip bottom dishes
Immersion medium: air, oil or water, as required by the objective used.
5 PROTOCOL
| Duration | Time | |
| Preparation | A few minutes | |
| Protocol | A few minutes | |
| Preparation | Establish the appropriate instrument settings | |
| Caution | Prior training in the general use of the specific confocal required. | |
| Tip | Protocol can be easily performed at the beginning of each imaging day or even for each new slide. | |
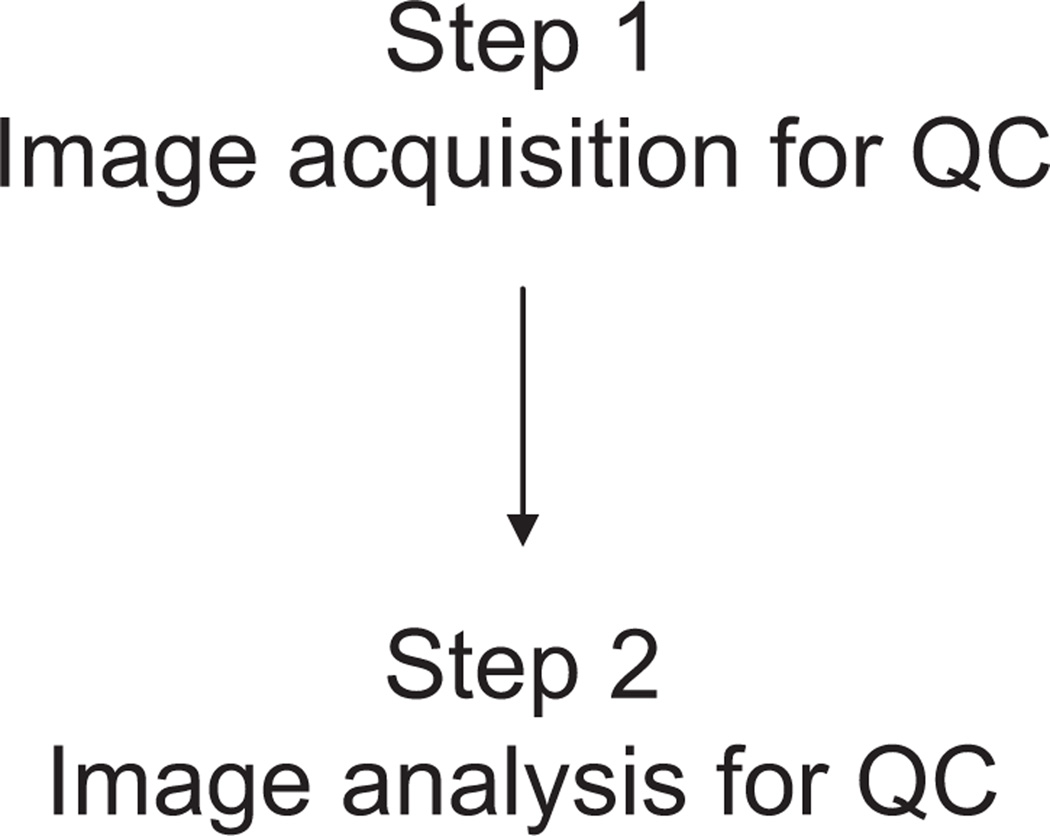
See Fig. 1 for the flowchart of the complete protocol.
Figure 1.
Flowchart of the complete protocol.
5.1 Step 1—Image Acquisition for QC
| Overview | The intensity of fluorescence recorded in a sample depends on a large number of parameters that may change without operator control or awareness. The most common of these is the intensity of lasers reaching the sample and exciting fluorescence. A quick QC protocol should be performed before any experiment in which images will be analyzed or just compared in terms of intensity and/or size. The intensity of excitation light for each of the laser lines used is monitored in reflection mode, using a time lapse z scan. This can help to discriminate between variations in laser intensity and the z-shift of the stage. This fast and simple protocol is powerful in detecting system instability and discriminating causes. |
| Duration | Lasts for a few minutes |
Procedures
| 1.1 | Turn ON confocal system. |
| 1.2 | Place a specimen on the stage with the coverslip side facing the objective. |
| 1.3 | Focus on the outer surface of the coverslip while looking through the eyepieces. This may be achieved either in fluorescence mode, using the Hg or Xe lamp provided or using transmission light. If the specimen contains rare and sensitive staining, focus on an area on the coverslip away from it. |
| 1.4 | Select the objective and the lasers that will be needed for the imaging experiment. You will typically need as many lasers as fluorescent dyes. Most commonly used laser excitation lines are 405 nm for blue emitters, 488 nm for green, 543 nm or 561 nm for red and 633 nm for far red. |
| 1.5 | Select reflection mode. In the Leica AOBS, this is an option on the AOBS control interface. For other systems, it is sufficient to select dichroic and emission filters that allow the incident light to go through and reach the detector. The test may be run in multichannel mode, simultaneous testing as many laser lines as there are detectors. |
| 1.6 | Start scanning in live (Leica) or continuous mode. Start with detector gain values around the middle of the range, approximately 600 V. |
| 1.7 | Focus until the reflected image is the brightest. In the process the image may become saturated. In this case, reduce the detector gain until intensities fall around the middle of the intensity range, at around 130 for 8 bit detection (0–255). |
| 1.8 | Repeat for each laser of interest. This is only necessary when setting up the experiment. In all subsequent imaging days, the parameters saved in Step 1 will be used without adjustment. |
| 1.9 | Change mode to xzt, or vertical time lapse. In live mode, this should result in at least one bright horizontal line. Depending on the type of specimen, there may be two lines, the first and brightest is the reflection off the coverslip and the second, off the slide. For thick specimen the second reflection may not be in the field of view. For coverslip bottom chambers there will be, of course only one line. |
| 1.10 | Select a time interval of 30 s and acquire minimum 10 images, for a total of 5 min. |
| 1.11 | Save all instrument setting to be reused at least once a day, before starting the actual imaging experiments. |
| Caution | Make sure the intensity of the reflection line is not saturated. |
| Tip | Several laser lines may be tested simultaneously, as many as the number of detectors available on the system. |
See Fig. 2 for the flowchart of Step 1.
Figure 2.
Flowchart of Step 1.
5.2 Step 2—Image Analysis for QC
| Overview | For routine, quick tests, images may be evaluated immediately, using the confocal instrument’s software. For more thorough analysis and record keeping, images may be transferred to any analysis package, e.g. ImageJ or FIJI. |
| Duration | Lasts for a few minutes. |
Procedures
| 2.1 | Draw a vertical line, a few pixels wide crossing the reflection line in the image, in its middle. Get a line profile. |
| 2.2 | Record the peak values for each time point and calculate the mean value and the short term variation. |
| 2.3 | Compare the mean value with those obtained previously, with exactly the same instrument settings (Figure 4). |
| 2.4 | Repeat measurements close to the two ends of the reflection line. Differences from the central value reflect the flatness of field. This is particularly important if intensity of small objects dispersed in the image is measured: the ones on the periphery may appear less intense than the ones in the middle (Figure 6). |
| 2.5 | Follow the variation with time of the position of the maximum on the graph’s x-axis, corresponding to the z position of the coverslip’s surface. This may be caused by mechanical instability in the stage, the galvo control of the stage or variations in temperature affecting the refractive index of the immersion medium. Record the magnitude of any observed fluctuations or drift (constant movement in one direction). This is particularly important to know when attempting time lapse live cell experiments (Figure 4). |
| 2.6 | Repeat measurements for all channels/laser lines. |
| 2.7 | Measure the distance on the x-axis between the maxima of each channel to the next. Any distance between peaks of different channels indicates lack of registration between channels on the z-axis. These values are particularly important to know when attempting to measure colocalization in a confocal stack. Axial registration (along the z-axis) is more difficult to achieve than lateral (in x and y) (Figure 5). |
Figure 4.
Laser and stage stability in time. (A) z scan in reflection mode of a coverslip (top horizontal line) mounted on a slide (bottom). (B) The variation in time of the intensity profile of the vertical test line in the middle. Changes in the peak intensity, between 132 and 141, are due to variations in laser intensity. Changes in position of the peak between 2.1 and 3.0 µm are due to movement of the stage. (See color plate.)
Figure 6.
Uniformity of field illumination. (A) Position of probe lines. (B) Peaks in the three positions have similar intensities, showing homogeneous field illumination. (See color plate.)
Figure 5.
Channel registration. (A) Overlay of reflections from four lasers: 405 nm shown in cyan, 488 nm shown in green, 561 nm in red and 633 in magenta. (B) Position of the four peaks showing the magnitude of the lack of registration (for interpretation of the references to color in this figure legend, the reader is referred to the online version of this book). (See color plate.)
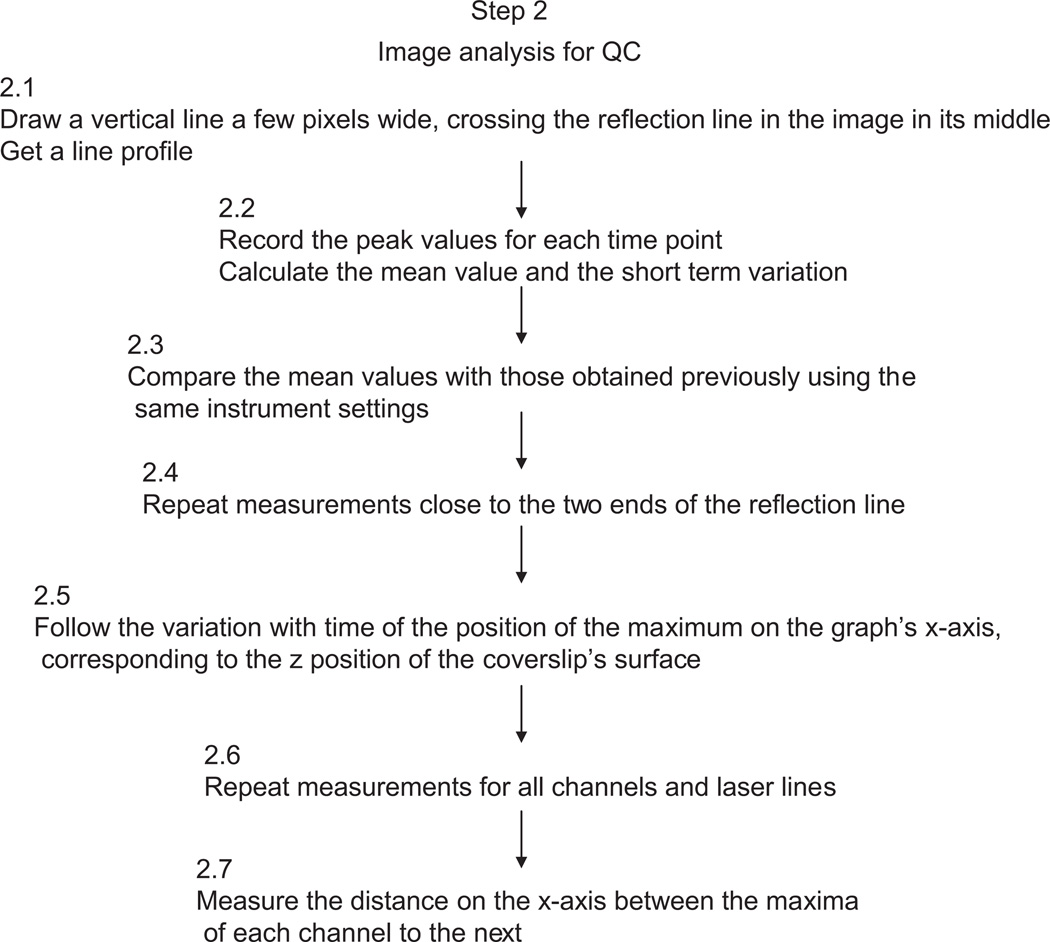
See Fig. 3 for the flowchart of Step 2 (Figs 4–6).
Figure 3.
Flowchart of Step 2.
Referenced literature
- Cole RW, Jinadasa T, Brown CM. Measuring and interpreting point spread functions to determine confocal microscope resolution and ensure quality control. Nature Protocols. 2011 Nov 10;6(12):1929–1941. doi: 10.1038/nprot.2011.407. [DOI] [PubMed] [Google Scholar]
- Pawley J. The 39 steps: a cautionary tale of quantitative 3-D fluorescence microscopy. BioTechniques. 2004;28:2–4. doi: 10.2144/00285bt01. [DOI] [PubMed] [Google Scholar]
- Zucker RM. Quality assessment of confocal microscopy slide-based systems: instability. Cytometry Part A. 2006;69A:677–690. doi: 10.1002/cyto.a.20313. [DOI] [PubMed] [Google Scholar]
- Zucker RM, Price OT. Evaluation of confocal system performance. Cytometry. 2001;44:273–294. doi: 10.1002/1097-0320(20010801)44:4<273::aid-cyto1120>3.0.co;2-n. [DOI] [PubMed] [Google Scholar]


