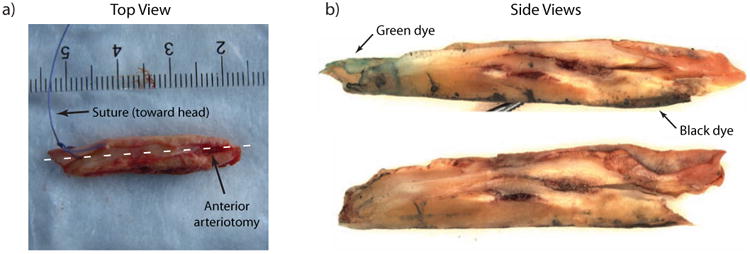
Figure 1.

Example of a sample preparation for histology. Panel (a) shows a top-view photograph of the raw sample from the common carotid of Patient A. The suture placed by the surgeon indicates proximal vs. distal end of the sample (with respect to the heart). The anterior surgical arteriotomy is evident on the top surface of the sample. To prepare samples for histology, the suture is removed and replaced with tissue marking dye and the sample is cut into two halves following the arteriotomy which approximates the ultrasound plane. Side views of the cut sample are shown in panel (b). Note the green and black tissue marking dyes in panel (b); green indicates suture position and black indicates the opposite side of the arteriotomy (i.e. the distal wall in the ultrasound image).
