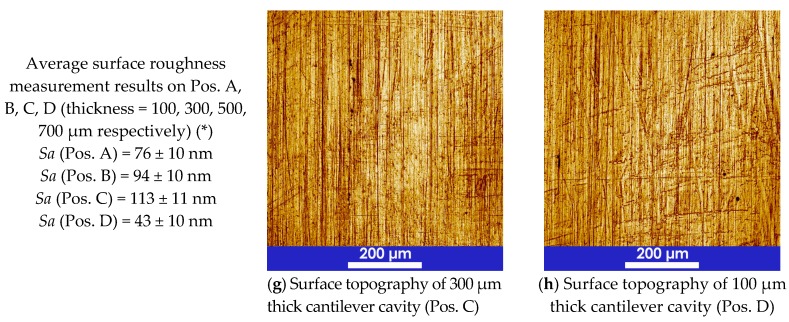
Figure 2.
Model, dimensions, mould insert, cavity surface topographies and roughness of the micro finger test structure. Surface scanning area = 644 μm × 644 μm (4096 × 4096 pixels), acquisitions obtained with laser confocal microscope using a 20× magnification objective (numerical aperture = 0.60). (*) Interval indicates estimated measurement uncertainty including repeatability, resolution and instrument calibration.


