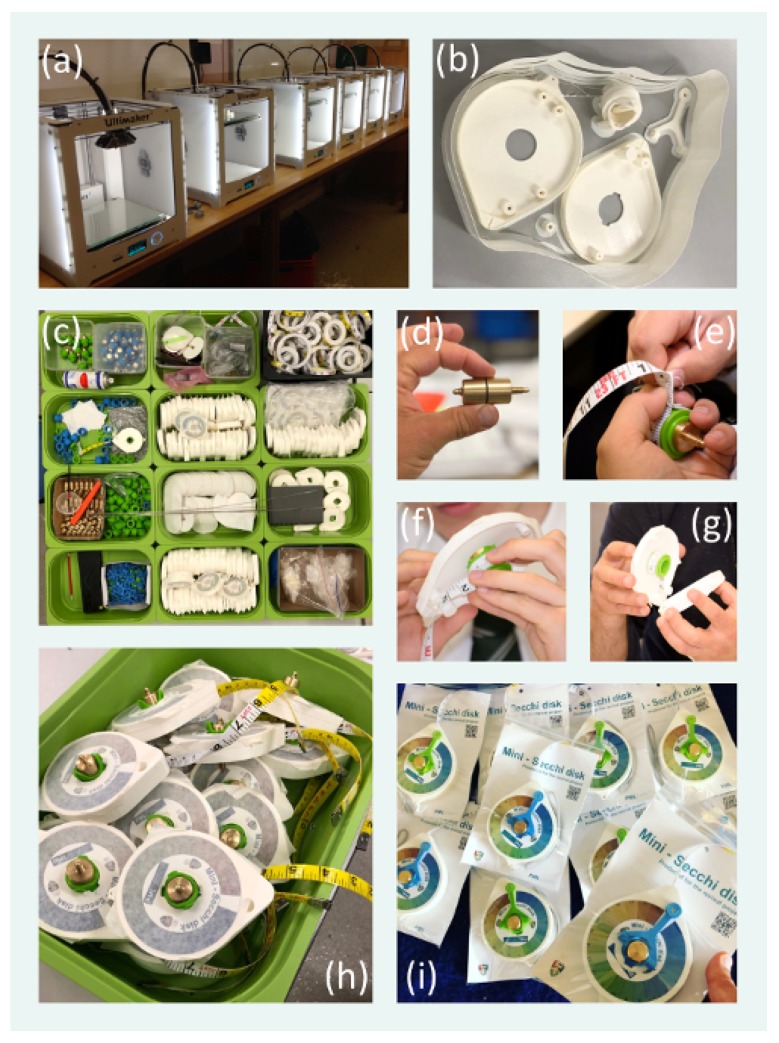
Figure 3.
Photos of keys steps in the manufacturing process. (a) Ultimaker 2 printers used to 3D print components of the mini-Secchi disk. (b) An example 3D print of the casing, bobbin and handle of the mini-Secchi disk. (c) Assembly of the components of the mini-Secchi disk after 3D printing the parts and printing the vinyl colour scale sticker, manufacturing the weight and the Secchi disk, and procuring the measuring tape. (d–g) Constructing the mini-Secchi disk. Having manufactured the weight (d), using either a metal lathe or a CNC machine, and bobbin (glued and finished), the weight is fitted into the bobbin and the measuring tape is stitched onto the bobbin (e). The bobbin is fitted into the casing (f) and measuring tape enclosed between the two sides of the casing (g) before being locked in place with the finger strap using the fittings. (h) The colour scale sticker is added before the handle of the device is fitted, lanyard added, and disk and weight attached to the measuring tape. (i) Examples of mini-Secchi disks produced for the REVIVAL project (https://pml.ac.uk/Research/Projects/REVIVAL).

