Fig. 2.

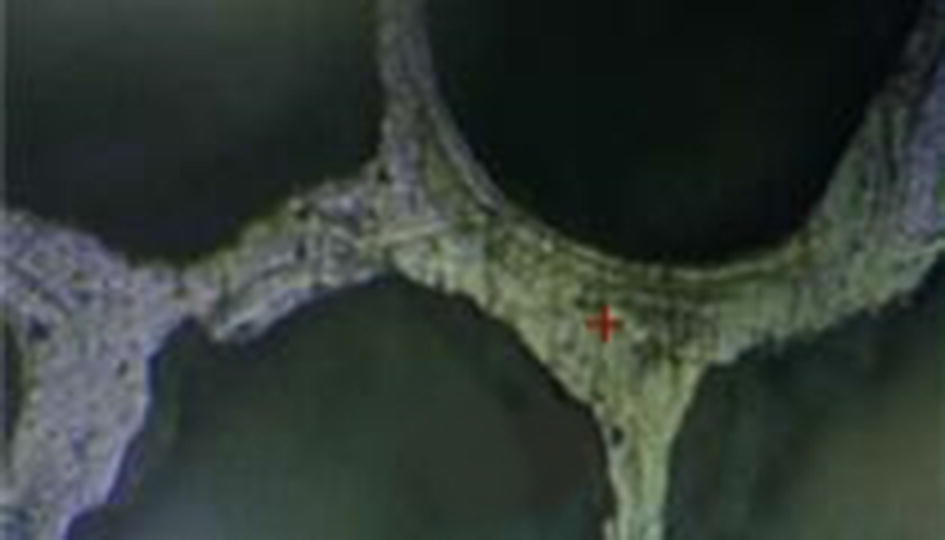
Indentation sites for nanoindentation test. Actual indented sites were marked by red cross under optical microscopy, and the sample thickness was 2 mm

Indentation sites for nanoindentation test. Actual indented sites were marked by red cross under optical microscopy, and the sample thickness was 2 mm