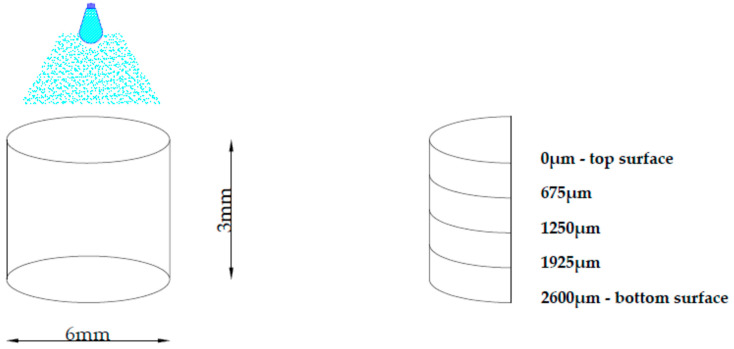
Figure 5.
Schematic diagram of the cylindrical sample (diameter of 6 mm and thickness of 3 mm) used for the microhardness test. The top surface was cured twice for 4 s. The microhardness and reduced modulus of the external surfaces (0 µm—top sample’s surface; 2600 µm—bottom sample’s surface) and cross section (675, 1250 and 1925 µm) of the sample were tested.

